
Rubik's Cube algorithms: beginner method, 2-look OLL and 2-look PLL
Every Rubik's Cube algorithm you need with a moving 3D cube: how to read the notation (face, slice, wide moves and rotations), the 7 beginner algorithms, 2-look OLL and PLL.
An algorithm is a short list of moves that fixes one thing on the cube without breaking the rest. This page has every algorithm you need for your first year of cubing: the 7 from the beginner method, then the 16 of 2-look OLL and PLL. Each one has a small cube that shows the case and plays the solution.
What an algorithm is
The word sounds like maths, but on the cube it only means "a move pattern that does one job". R U R' U' moves four pieces around and leaves the others alone. Do it six times and the cube is back where it started. Every solving method is a set of such patterns, used in a fixed order. The beginner method needs 7 of them. The CFOP method that fast cubers use needs 78 for the last layer alone, but you can start with 16 and still get a big speed gain.
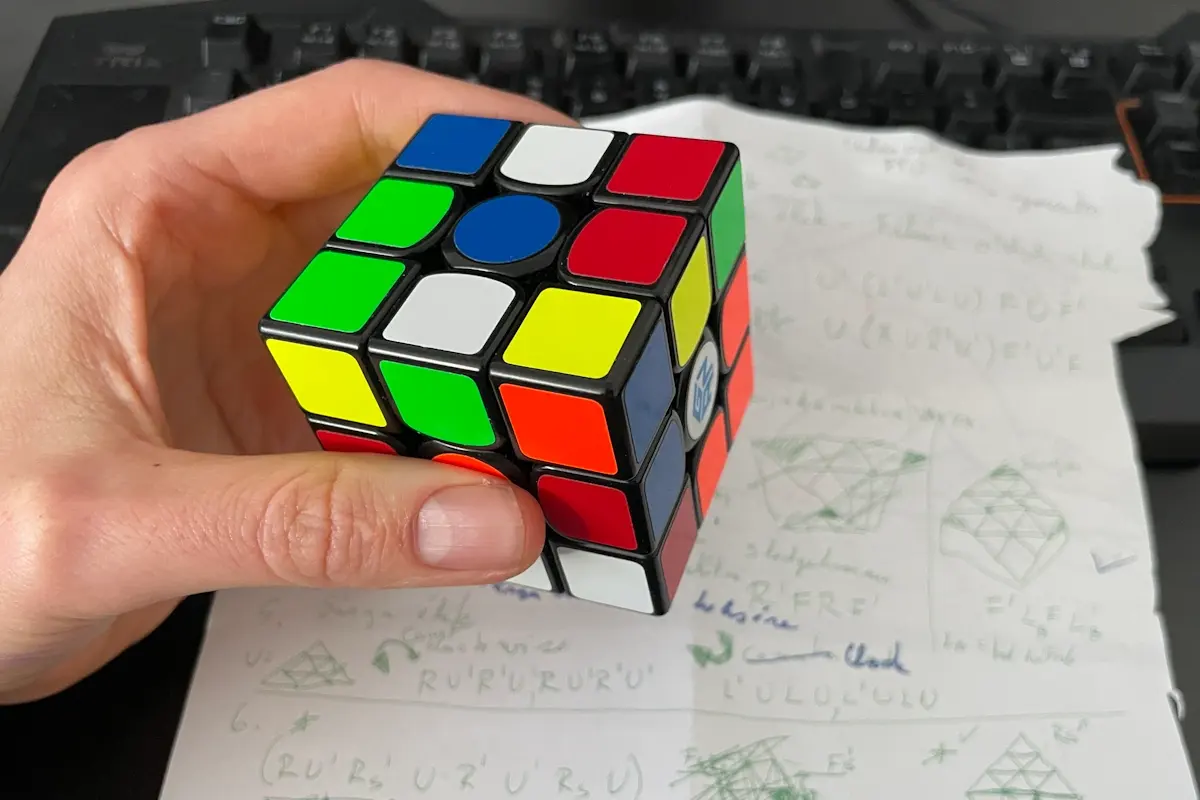
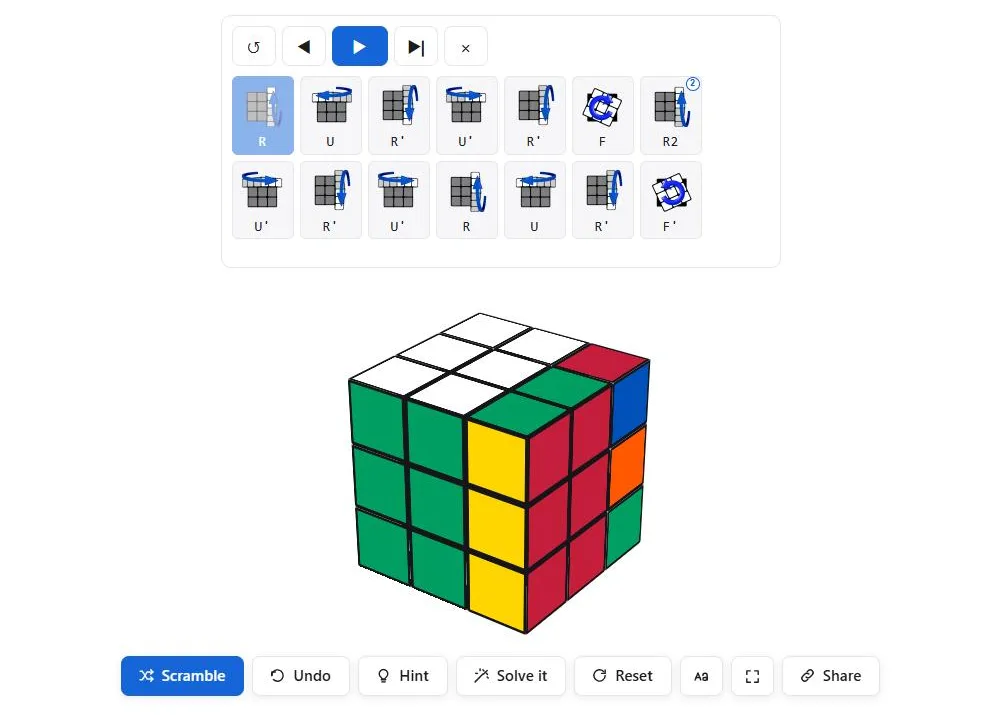
Every algorithm on this page is written in the standard letter notation. The next section shows every move you will ever meet, with a cube that plays it. All the algorithms here use the cube held with white on top for the beginner steps and yellow on top for OLL and PLL, which is what the players show.
How to read the moves
Each letter is one face of the cube, seen from where you hold it. A plain letter means turn that face a quarter turn clockwise, as if you were looking straight at that face. An apostrophe (R', said "R prime") means counterclockwise. A 2 (R2) means a half turn, and for a half turn the direction does not matter. Press play on any cube below to watch the move; the small pictures show the same move as an arrow on the face. The notation page has a quiz if you want to test yourself.
The six face turns
These six letters make up almost every algorithm. Watch how the face turns clockwise when you look at that face: for U the top row moves to the left from where you sit, for D the bottom row moves to the right, and for B the back face turns the opposite way from F, because you would be looking at it from behind.
| Move | Face | Watch it | The three forms |
|---|---|---|---|
| U | Up, the top face | U | |
| D | Down, the bottom face | D | |
| R | Right face | R | |
| L | Left face | L | |
| F | Front, the face looking at you | F | |
| B | Back, the face away from you | B |
Slice moves: M, E and S
A slice move turns only the middle layer between two faces. The letters come from the words middle, equator and standing. The direction rule is easy to mix up, so remember it this way: M follows L (M turns the same way as L), E follows D and S follows F. Slice moves show up in the beginner method's checkerboard pattern (M2 E2 S2), in some OLL cases and in a lot of edge algorithms for faster methods.
| Move | Which layer | Watch it | The three forms |
|---|---|---|---|
| M | Middle layer between L and R, turns like L | M | |
| E | Equator layer between U and D, turns like D | E | |
| S | Standing layer between F and B, turns like F | S |
Whole cube rotations: x, y and z
Lowercase x, y and z turn the whole cube in your hands. Nothing on the cube changes, only the way you hold it, so the next letters refer to new faces. The rule matches the slices: x follows R, y follows U, z follows F. You will see y in PLL algorithms, for example the Aa perm starts with x, and y2 means "turn the cube around so the back is in front".
| Move | What it does | Watch it | The three forms |
|---|---|---|---|
| x | Whole cube like R: the front goes to the top | x | |
| y | Whole cube like U: the right face comes to the front | y | |
| z | Whole cube like F: the top goes to the right | z |
Wide moves: two layers at once
A wide move turns the face and the middle layer next to it together, as if you grabbed two layers. There are two ways to write it and both mean the same thing: a lowercase letter (r) or the letter with a w (Rw). Our players accept both. A wide move is the same as the face turn plus the slice next to it: r = R M', u = U E', f = F S. Fast cubers love them because two layers in one grip is quicker than two separate turns. The WCA regulations use the Rw form in official scrambles.
| Move | Same as | Watch it | The three forms |
|---|---|---|---|
| u or Uw | U and the layer under it (U E') | u | |
| d or Dw | D and the layer above it (D E) | d | |
| r or Rw | R and the middle layer (R M') | r | |
| l or Lw | L and the middle layer (L M) | l | |
| f or Fw | F and the layer behind it (F S) | f | |
| b or Bw | B and the layer in front of it (B S') | b |
Brackets, repeats and triggers
Two more things you will see in algorithm lists. Brackets with a number, like (R U R' U')3, mean "do this part three times". And a few short patterns have names because they come up so often: R U R' U' is the "sexy move", R U R' U R U2 R' is "Sune", and R' D' R D is the beginner's corner trick. When a list says "sexy move x3", it just means those four moves, three times. Our players read brackets and repeat numbers, so you can paste any of these into the simulator and watch them.
The beginner method algorithms
These are the exact moves from our 7 step tutorial. Only step 1 (the white cross) has no fixed algorithm, you place the four edges by looking. Each player starts from the case the step fixes and plays the moves. In the tutorial you have practice buttons for every step.
| Step | What it does | Algorithm | Moves |
|---|---|---|---|
| 1. White cross | Four white edges around the white center, side colors matching | No fixed algorithm | About 8 |
| 2. White corners | Puts a white corner in from the top, repeat until it sits right | R' D' R D | 4 |
| 3. Middle layer, right | Moves a top edge down to the right slot | U R U' R' U' F' U F | 8 |
| 3. Middle layer, left | Moves a top edge down to the left slot | U' L' U L U F U' F' | 8 |
| 4. Yellow cross | Flips yellow edges up, repeat up to 3 times | F R U R' U' F' | 6 |
| 5. Yellow edges | Swaps yellow edges until their sides match | R U R' U R U2 R' U | 8 |
| 6. Yellow corners, position | Cycles three corners, the front right one stays | U R U' L' U R' U' L | 8 |
| 7. Yellow corners, twist | Twists one corner, repeat until yellow is up, then turn the top | R' D' R D | 4 |
A tip from our own early days: steps 2 and 7 use the same four moves, R' D' R D. In step 7 the cube looks broken while you repeat them. Keep going and keep the top layer still, it fixes itself. 😊
2-look OLL
OLL means "orientation of the last layer". It makes the whole top face yellow in one go, with the first two layers already solved. Full OLL has 57 cases. 2-look OLL splits the job in two looks: first make the yellow cross with one of 3 algorithms, then turn all corners yellow with one of 7. The 2-look OLL page on the Speedsolving wiki uses the same 10 cases.
Look 1: orient the edges
Look at the yellow stickers on the top face and ignore the corners. You see a dot, an L shape or a line. Turn the top layer first so the L points to the front right (yellow edges at the front and on the right) and the line goes from left to right.
Dot
Two short algorithms in a row. The first one makes an L, the second makes the cross.
L shape
The two yellow edges sit at 3 and 6 o'clock. The f is a wide move: front and middle slice together.
Line
The same algorithm as step 4 of the beginner method.
Look 2: orient the corners
Now the yellow cross is there and you orient the four corners with one algorithm. Hold the cube as the title of each card says. Sune and Anti-Sune are the two you will use the most, learn them first. 🧩
Sune
7 moves. The most used algorithm in cubing after the sexy move.
Anti-Sune
Sune backwards. If Sune does not fit, this one does.
H
A double Sune. The yellow corner stickers face left and right.
Pi
Only R and U turns. Hold the two yellow stickers that sit on one side to the left.
U (headlights)
The two front yellow stickers look like car headlights.
T
Two corners done on the right side, the other two show yellow to the front and the back.
L (bowtie)
The two solved corners sit on a diagonal. Yellow on the front right faces you.
2-look PLL
PLL means "permutation of the last layer". The top face is already yellow, and PLL moves the pieces into their final spots without turning any of them over. Full PLL has 21 cases. 2-look PLL first puts the corners in place (2 algorithms) and then the edges (4 algorithms). See the 2-look PLL wiki page for the same cases with pictures.
Look 1: place the corners
Look at the corners only. If two corners next to each other need to swap, use the T perm. If two corners on a diagonal need to swap, use the Y perm. If the corners are already right, skip to the edges.
T perm
14 moves. Hold the two corners you want to swap on the right.
Y perm
17 moves. It is two short pieces glued together, learn it in two halves.
Look 2: place the edges
With the corners right, one of four things remains. Three edges cycle (Ua or Ub), the two pairs of opposite edges swap (H perm), or two pairs of neighbor edges swap (Z perm). Ua and Ub are mirror cases: if one does not fix it, the other will.
Ua perm
11 moves. The solved edge goes at the back.
Ub perm
11 moves. The reverse of Ua.
H perm
7 slice moves. Front swaps with back, left with right.
Z perm
9 slice moves. Two pairs of neighbor edges swap. This version also turns the top layer, so the corners look off by one turn before you start.
All 2-look algorithms in one table
Print this or keep it open on your phone while you learn. Slice turns (M) count as one move here.
| Name | Group | Algorithm | Moves |
|---|---|---|---|
| Dot | OLL edges | F R U R' U' F' f R U R' U' f' | 12 |
| L shape | OLL edges | f R U R' U' f' | 6 |
| Line | OLL edges | F R U R' U' F' | 6 |
| Sune | OLL corners | R U R' U R U2 R' | 7 |
| Anti-Sune | OLL corners | R U2 R' U' R U' R' | 7 |
| H | OLL corners | R U R' U R U' R' U R U2 R' | 11 |
| Pi | OLL corners | R U2 R2 U' R2 U' R2 U2 R | 9 |
| U (headlights) | OLL corners | R2 D R' U2 R D' R' U2 R' | 9 |
| T | OLL corners | r U R' U' r' F R F' | 8 |
| L (bowtie) | OLL corners | F' r U R' U' r' F R | 8 |
| T perm | PLL corners | R U R' U' R' F R2 U' R' U' R U R' F' | 14 |
| Y perm | PLL corners | F R U' R' U' R U R' F' R U R' U' R' F R F' | 17 |
| Ua perm | PLL edges | R U' R U R U R U' R' U' R2 | 11 |
| Ub perm | PLL edges | R2 U R U R' U' R' U' R' U R' | 11 |
| H perm | PLL edges | M2 U M2 U2 M2 U M2 | 7 |
| Z perm | PLL edges | M' U M2 U M2 U M' U2 M2 | 9 |
When we moved from the beginner method to 2-look OLL and PLL, our times went from about 1:30 to under 50 seconds in a month. Most of that came from the PLL half, so learn the T perm and the two U perms first. Time yourself with the timer before and after, the drop is a nice reward.
What to learn next
- F2L: solve the first two layers in pairs, a corner and an edge together. This is the biggest time saver after 2-look and needs no new algorithms at first.
- Full PLL: 21 cases, one look instead of two. The PLL list on the Speedsolving wiki has every case with several algorithms each.
- Full OLL: 57 cases. Learn them in small groups, the OLL list sorts them by shape.
- Finger tricks: doing U' with the index finger and R with the wrist. Most of the gap between 30 and 15 seconds is hands, not algorithms.
With full CFOP and good finger tricks, cubers reach times under 10 seconds, and the best in the world average under 5. Ruwix has a page on famous speedcubers, from Jessica Fridrich to today's record holders. You do not need any of that to enjoy the cube, but it is nice to know where the road goes. 🚀
Questions people ask
What do OLL and PLL stand for?
OLL is orientation of the last layer: make the top face one color. PLL is permutation of the last layer: move the pieces to their right spots. Together they finish the cube after the first two layers.
How many algorithms do I need for 2-look OLL and PLL?
16 in total: 3 for the yellow cross, 7 for the corners, 2 for corner permutation and 4 for edge permutation. Two of them (Line and Sune) you already know from the beginner method.
Which algorithm should I learn first?
Sune, then the T perm, then the Ua and Ub perms. Those four cover the most common cases and make the biggest difference to your time.
Do I have to learn full OLL and PLL?
No. Many cubers stay at 2-look for years and reach 20 seconds with good F2L and finger tricks. Full PLL is worth it when your last layer takes longer than your first two layers.
Why does the cube on each card start messed up?
Each player starts from the case that algorithm fixes, so you see the pattern to look for and watch it get solved. Press play again to replay it, or open it in the big simulator to turn it by hand.
Ready to try one? Open the full screen simulator, scramble it, solve the first two layers and see which of the 16 cases you get.
Last updated: November 4, 2026